Reference Guide
This guide covers the fundamentals: site selection, hive types, the anatomy of a colony, and what to expect in your first year.
Where you place your hive matters more than most new beekeepers expect. Bees are not particularly demanding, but a few environmental factors make a real difference to colony health and to your comfort during inspections.
Morning sun is valuable. It warms the hive early, which gets foragers moving sooner and helps the colony manage internal humidity. Afternoon shade in hotter climates reduces stress on the colony during peak summer heat.
Flight path is the other key consideration. Bees leave and return in a straight line from the entrance. Positioning the entrance so that flight path clears your yard, garden paths, and neighbor sightlines makes life considerably easier.
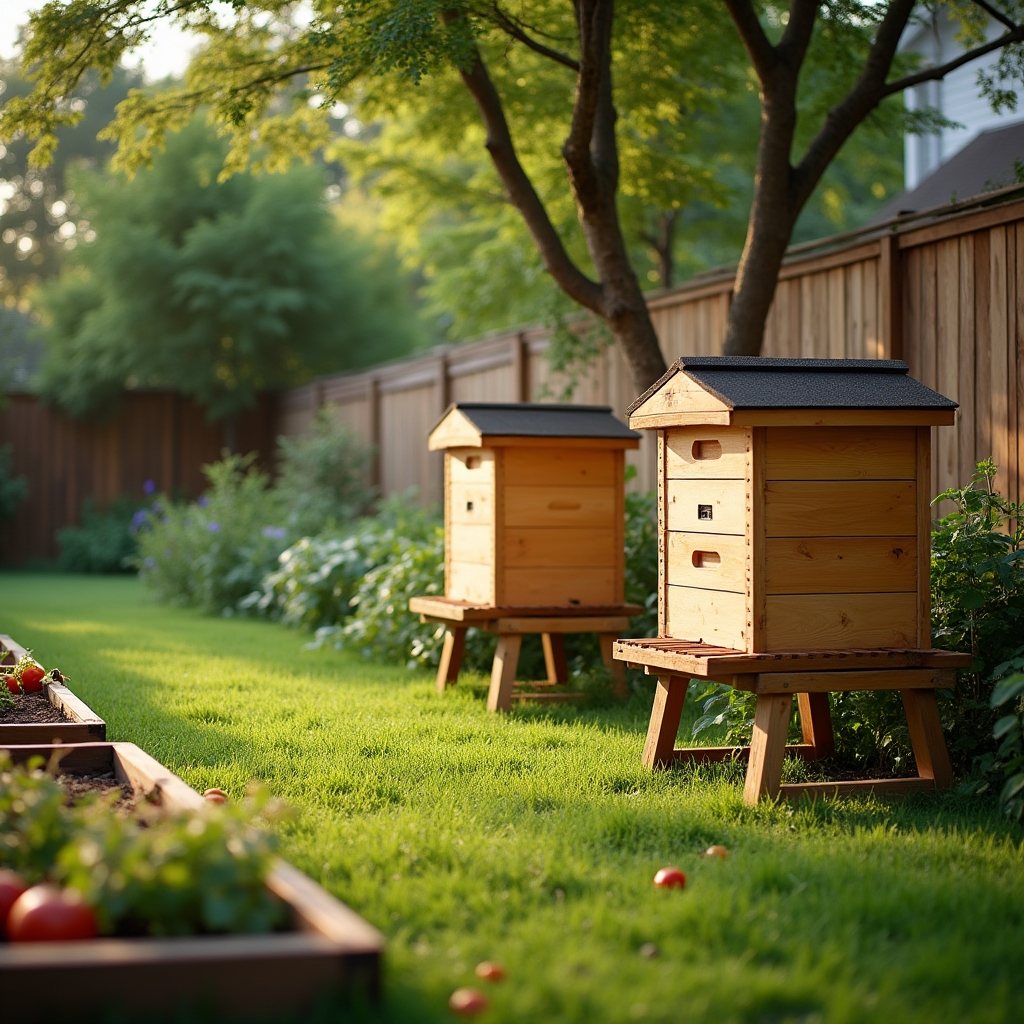
There are a handful of hive designs in common use among US hobbyists. Each has genuine advantages and real trade-offs.
The most common hive in the US. Modular boxes that stack vertically. Widely available, well-documented, and compatible with most extraction equipment. Learning resources are abundant.
A smaller, more natural-style hive that expands downward rather than upward. Less intervention required but also less visibility into colony health. Popular with beekeepers who prefer minimal management.
A horizontal hive design where bees build comb downward from removable bars. Easier on the back than stacking Langstroth boxes. Honey extraction is simpler but total yield is typically lower.
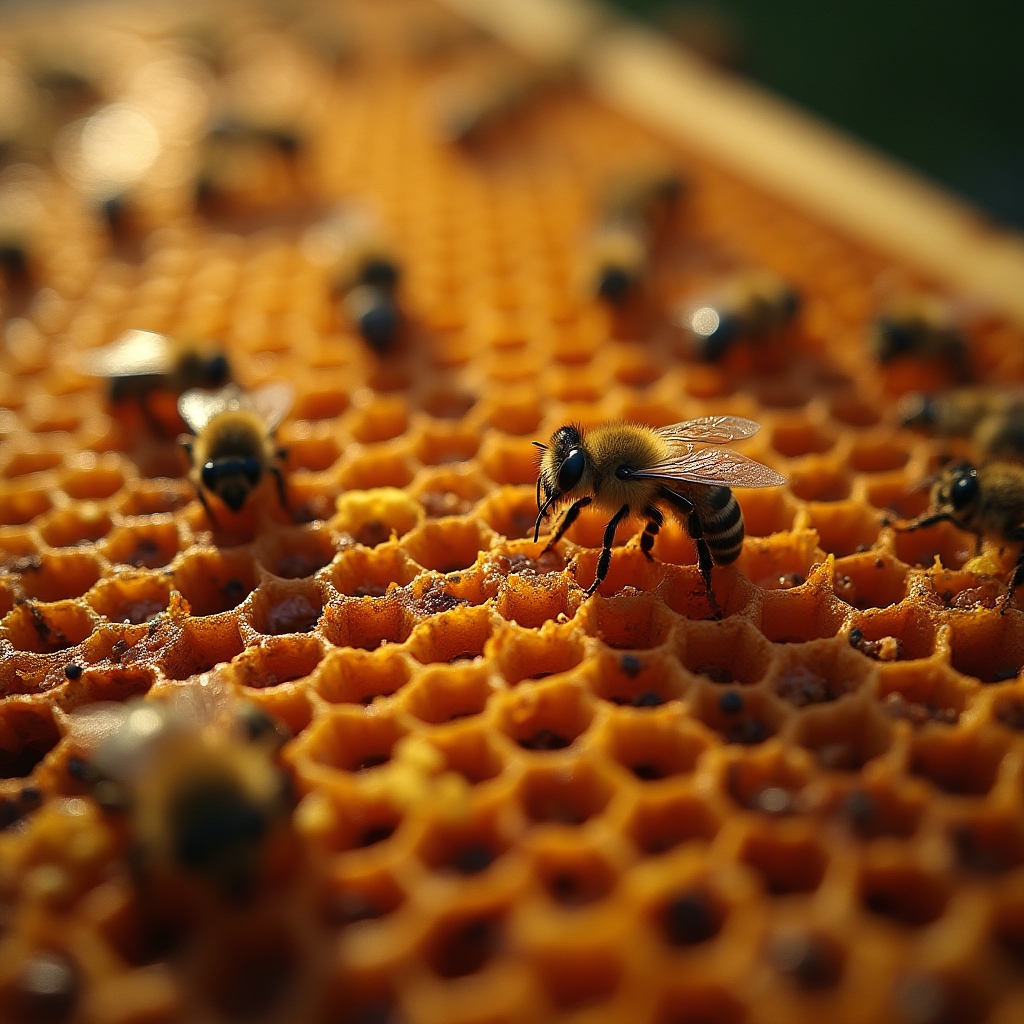
A honey bee colony is a superorganism. The individual bee is less the unit of interest than the colony as a whole. Understanding how the three castes relate to each other is foundational to everything else in beekeeping.
The queen is the only reproductive female. She can lay upward of a thousand eggs per day during peak season and can live several years. Workers are infertile females who do essentially everything else: foraging, nursing larvae, building comb, guarding the entrance, and regulating hive temperature. Drones are male bees whose primary function is mating with queens from other colonies. They don't forage or sting.
Understanding the brood cycle, which takes about 21 days for a worker from egg to emergence, helps you read your frames during inspections and catch problems early.
New beekeepers are often overwhelmed by equipment lists. Here's a more practical breakdown.
The learning paths take you through each of these topics in much more detail, with practical checklists and field notes.
